How to Fix a Leaking AC Unit: Step-By-Step Guide
Is your AC unit leaking water? This can be a frustrating issue for homeowners, but luckily, it’s not something you have to live with. In this guide, we’ll walk you through the steps to fix a leaking AC unit, so you can get back to enjoying a cool and comfortable home.

Understanding the Problem
Before you begin fixing your AC unit, it’s important to understand why it’s leaking in the first place.
Here are three common causes of AC leaks:
1. Clogged Drain Line
One of the most common causes of AC leaks is a clogged drain line. Over time, dirt, debris, and algae can build up in the drain line, causing it to become blocked. This can lead to water backing up and overflowing from your AC unit.
2. Dirty Air Filter
Another common cause of AC leaks is a dirty air filter. When your air filter is dirty, it can cause your AC unit to freeze up, which can lead to water leaking.
3. Low Refrigerant Levels
If your AC unit is low on refrigerant, it can cause the evaporator coil to freeze up, which can lead to water leaking.
Fixing the Problem
Now that you understand the common causes of AC leaks, it’s time to fix the problem. Here’s a step-by-step guide to fixing a leaking AC unit:
Step 1: Turn Off Your AC Unit
Before you begin working on your AC unit, you need to turn it off. This will prevent any electrical shocks or injuries while you’re working.
Step 2: Locate the Drain Line
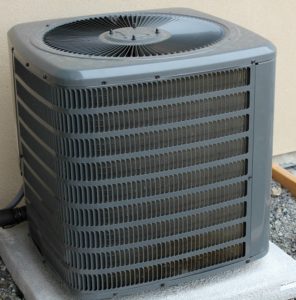
The first thing you’ll need to do is locate the drain line. This is typically located outside, near the condenser unit. Look for a PVC pipe that’s coming out of the unit and running into the ground.
Step 3: Unclog the Drain Line
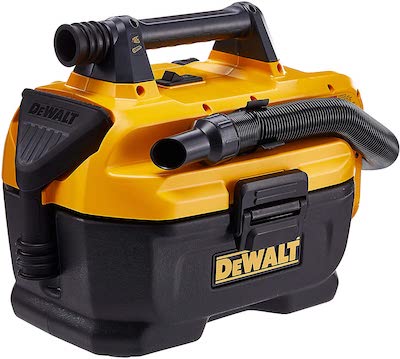
Once you’ve located the drain line, you’ll need to unclog it. There are a few different ways to do this, but one of the easiest is to use a wet/dry vacuum. Simply attach the vacuum to the end of the drain line and turn it on. This should suck out any blockages in the line.
Step 4: Change Your Air Filter
If your air filter is dirty, you’ll need to change it. This will help prevent your AC unit from freezing up and causing leaks. Be sure to use the right size and type of air filter for your unit.
Step 5: Check Your Refrigerant Levels
If your AC unit is low on refrigerant, you’ll need to have it recharged by a professional. This will help prevent your evaporator coil from freezing up and causing leaks.
Step 6: Check for Other Issues
If your AC unit is still leaking after you’ve unclogged the drain line, changed the air filter, and recharged the refrigerant, there may be other issues at play. It’s best to have a professional HVAC technician inspect your unit to identify any other problems.
Conclusion
Fixing a leaking AC unit can be a simple process if you know what you’re doing. By following the steps outlined in this guide, you can identify the cause of your AC leak and take the necessary steps to fix it. Remember to always turn off your AC unit before working on it, and to seek professional help if you’re unsure about any part of the process.

FAQs
- Can a leaking AC unit cause damage to my home?
- Yes, a leaking AC unit can cause water damage to your home if not addressed promptly.
- How often should I change my air filter?
- It’s recommended to change your air filter every 1-3 months,
- How do I know if my AC unit is low on refrigerant?
- If your AC unit is blowing warm air or if you notice ice buildup on the refrigerant lines, it may be low on refrigerant.
- Can I unclog the drain line myself?
- Yes, you can use a wet/dry vacuum to unclog the drain line. However, if you’re unsure about how to do it or if you’re not comfortable working with your AC unit, it’s best to seek professional help.
- What should I do if my AC unit is still leaking after following these steps?
- If your AC unit is still leaking after unclogging the drain line, changing the air filter, and recharging the refrigerant, it’s best to have a professional HVAC technician inspect your unit to identify any other issues.
By following these steps, you can fix a leaking AC unit and prevent water damage to your home. Remember to always prioritize safety and seek professional help if you’re unsure about any part of the process. With a little bit of effort, you can enjoy a cool and comfortable home all summer long.


